How To Set Print Area In Excel
Each print area gets a.
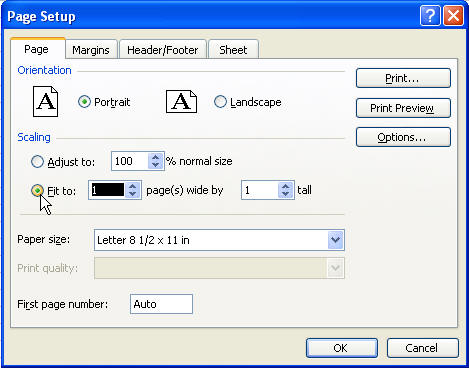
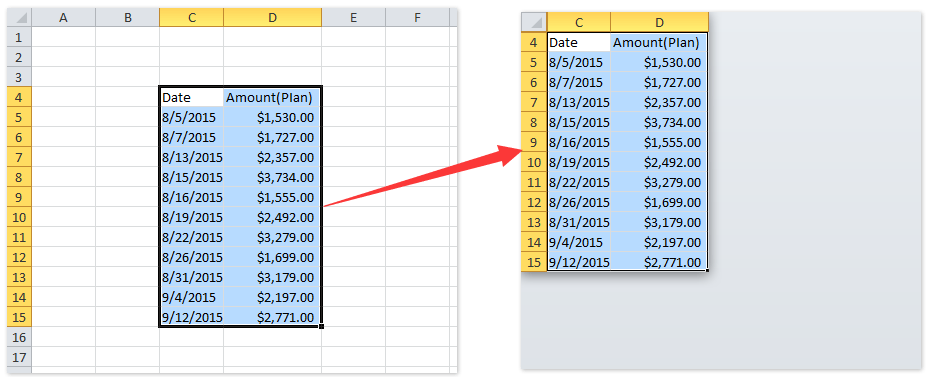
How to set print area in excel. Repeat steps 1 and 2 for other print areas. It is saved each time you save the workbook. Select the first print area and press ctrl c to copy it. Conversely you can set a range of cells to print in only one page if it fits.
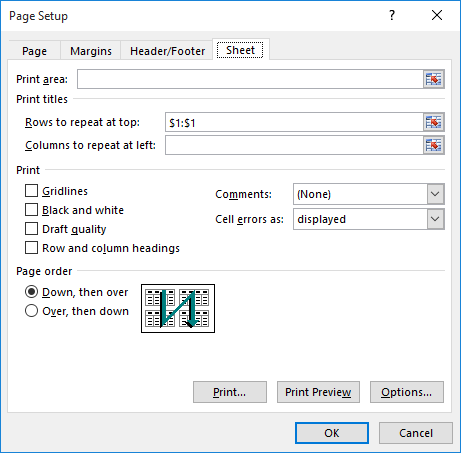
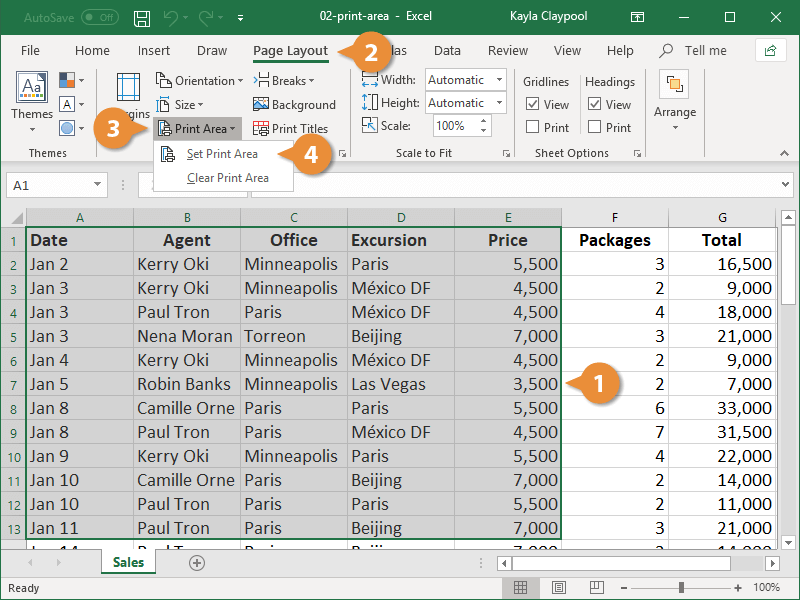
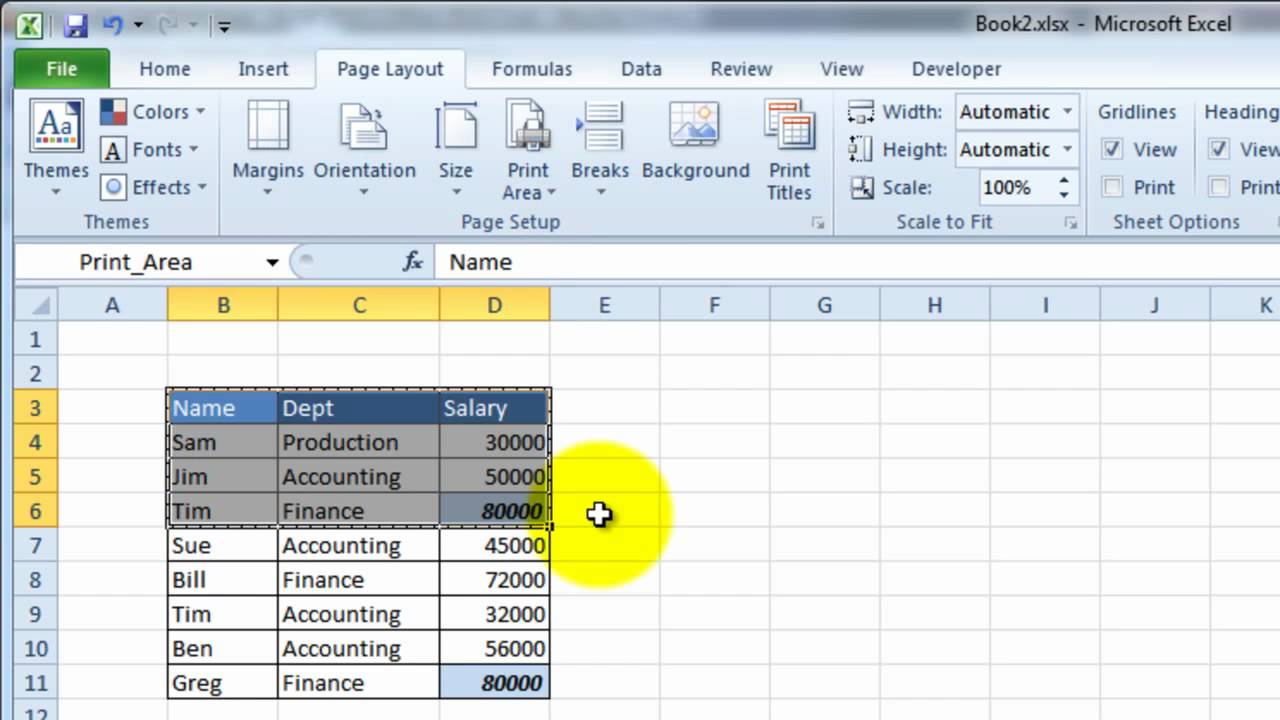
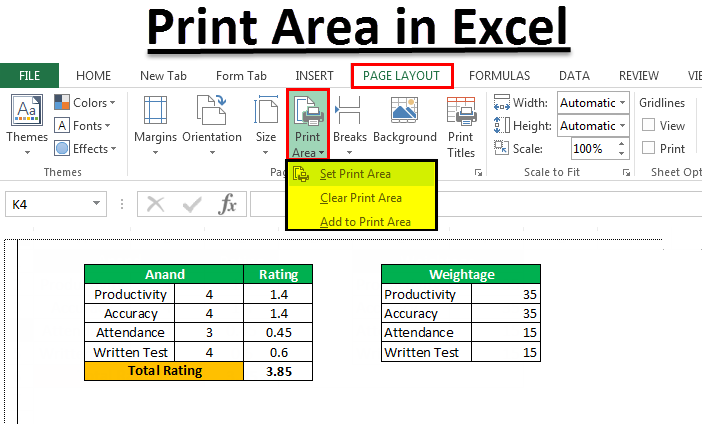
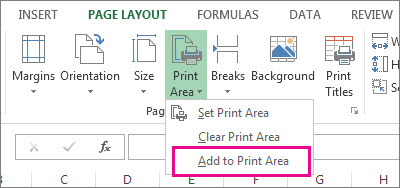
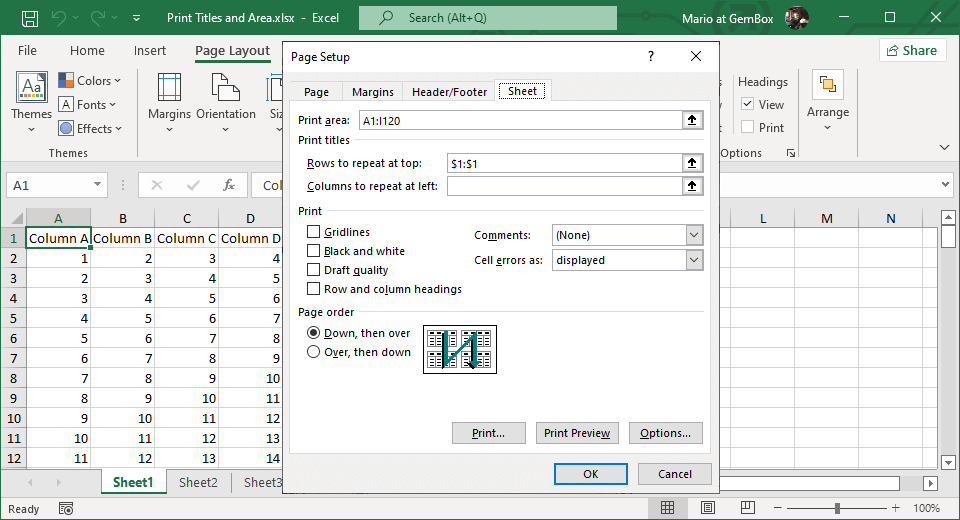
If the cells that you want to. Select a range of cells. You also can change the name of the print area as required. On the page layout tab in the page setup group click print area and then click add to print area.
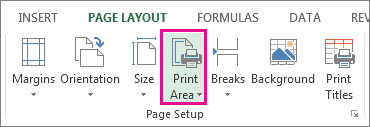
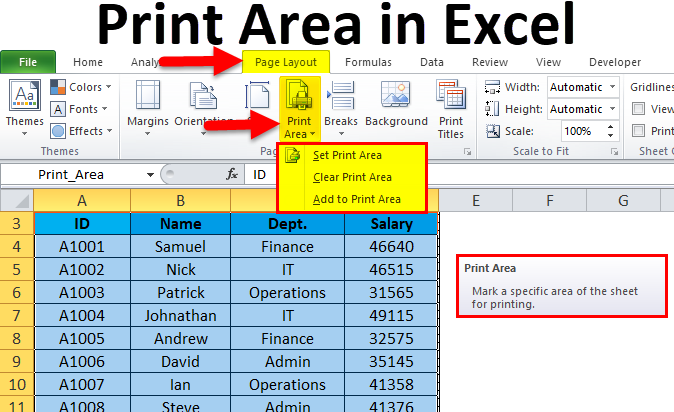
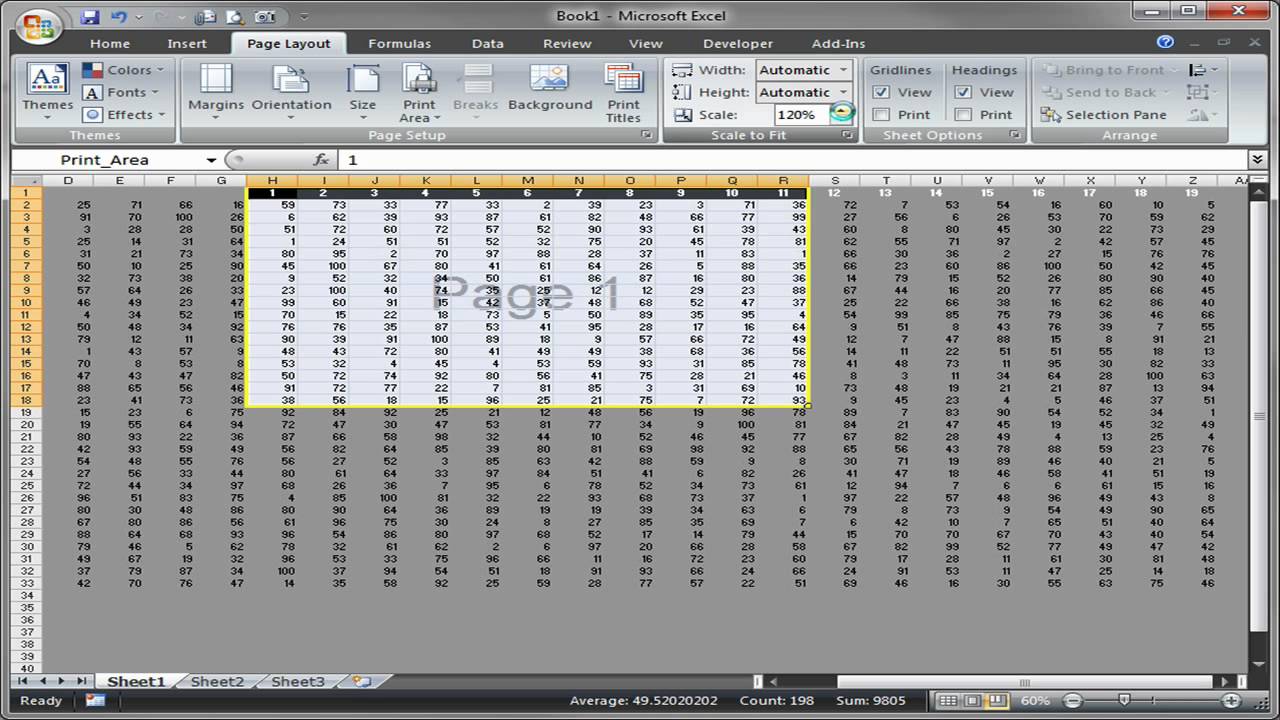
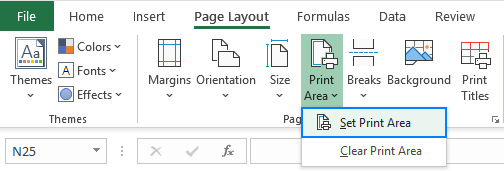
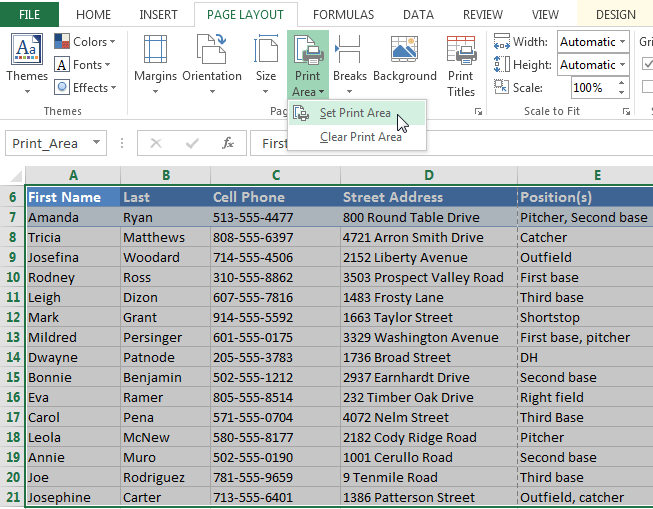
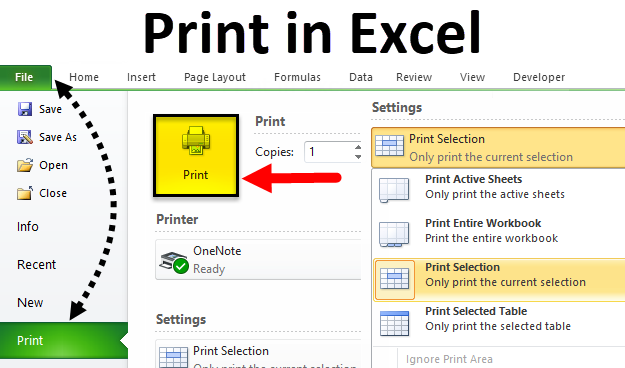
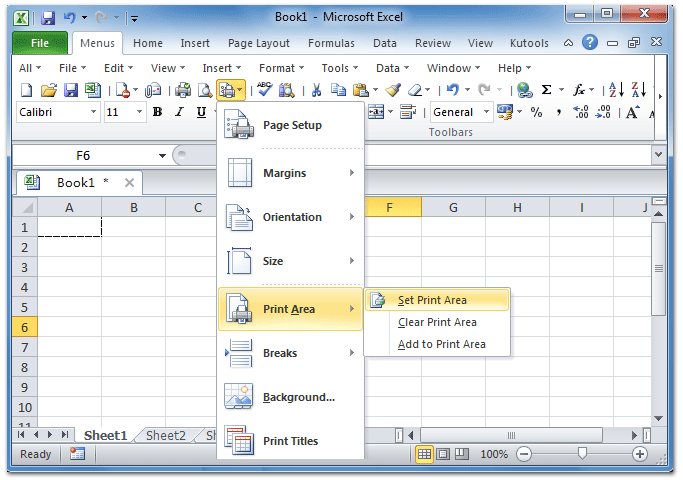
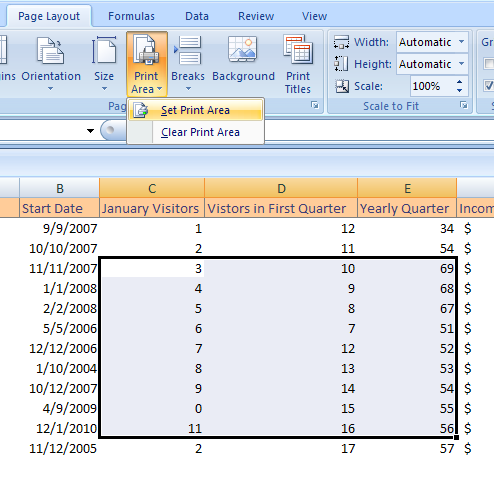
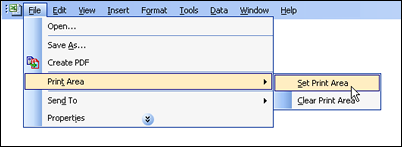
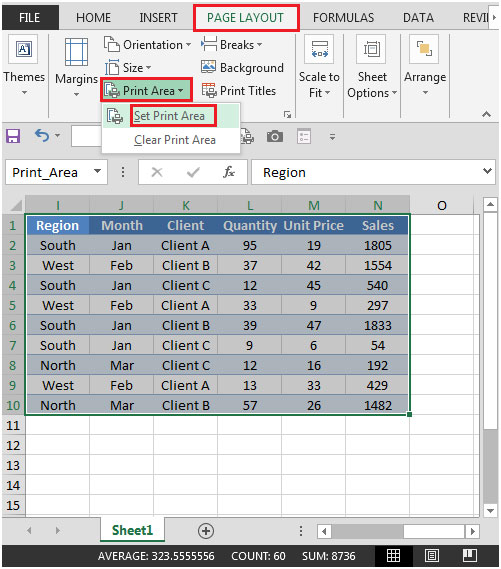
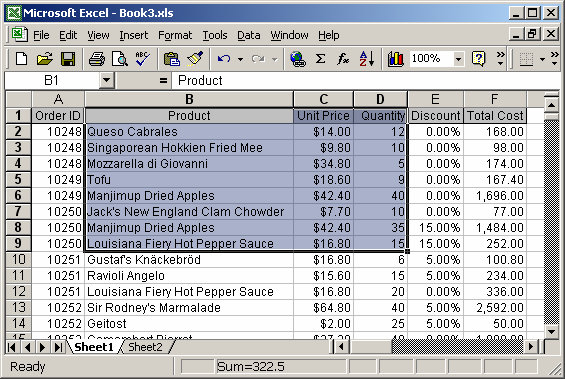
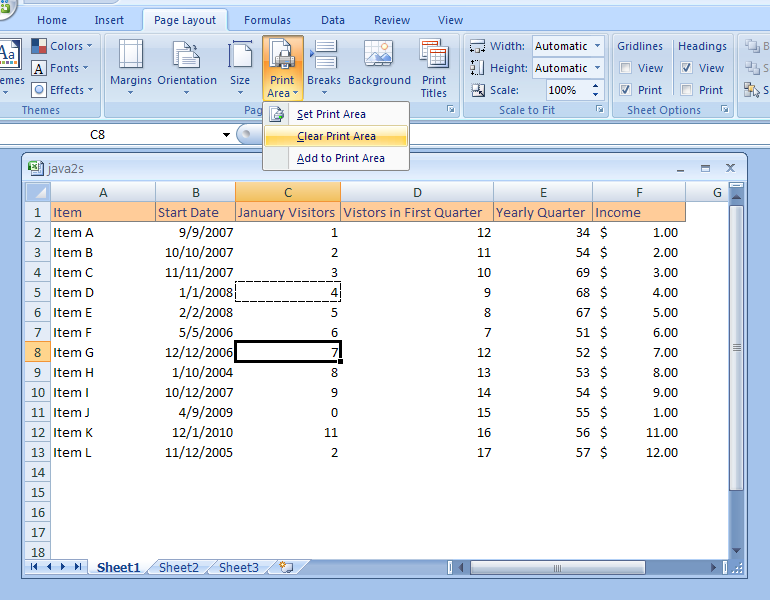
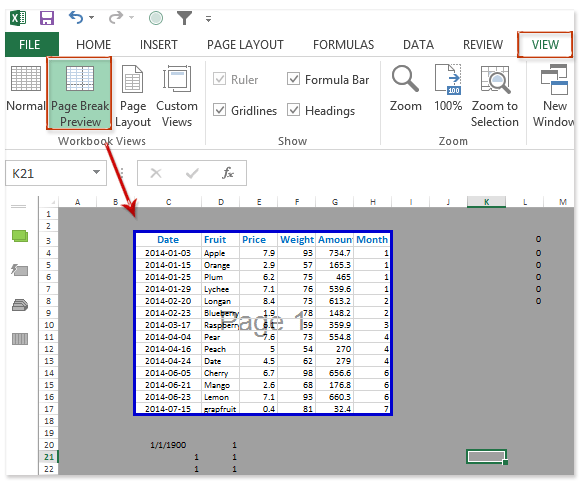
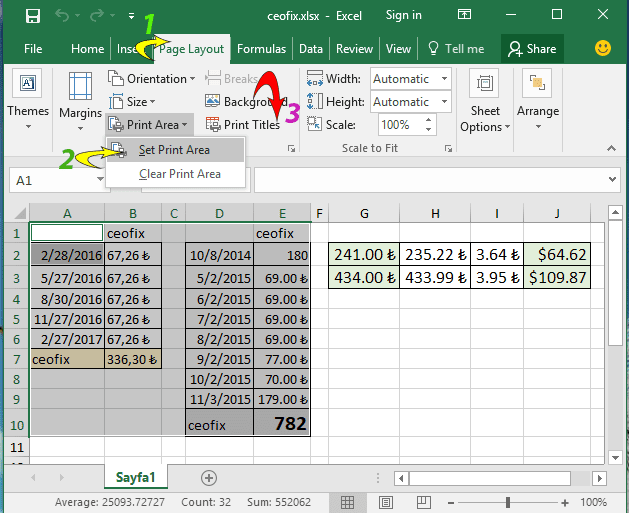
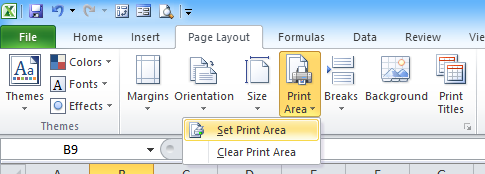
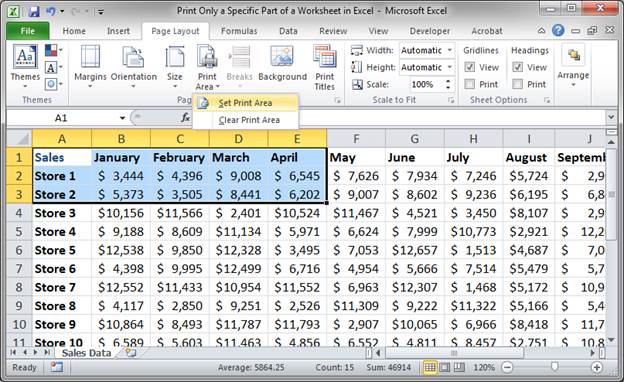
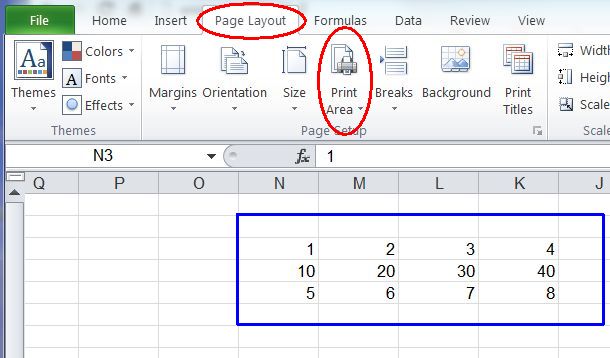
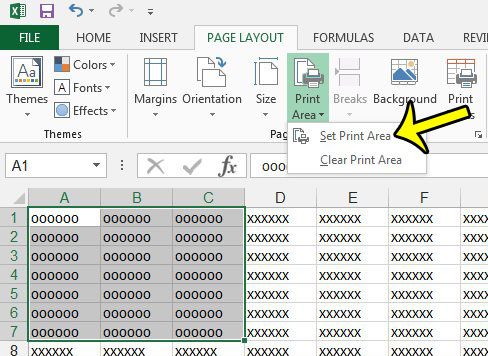
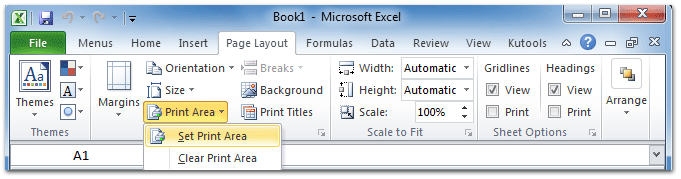
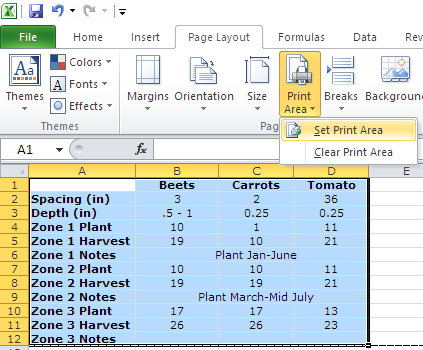
On a new sheet right click any blank cell and choose paste special linked picture. Click on set print area option as shown in the below screenshot. Set one or more excel print areas open a worksheet and select the cells that you want to be part of the print area. To set a print area execute the following steps.
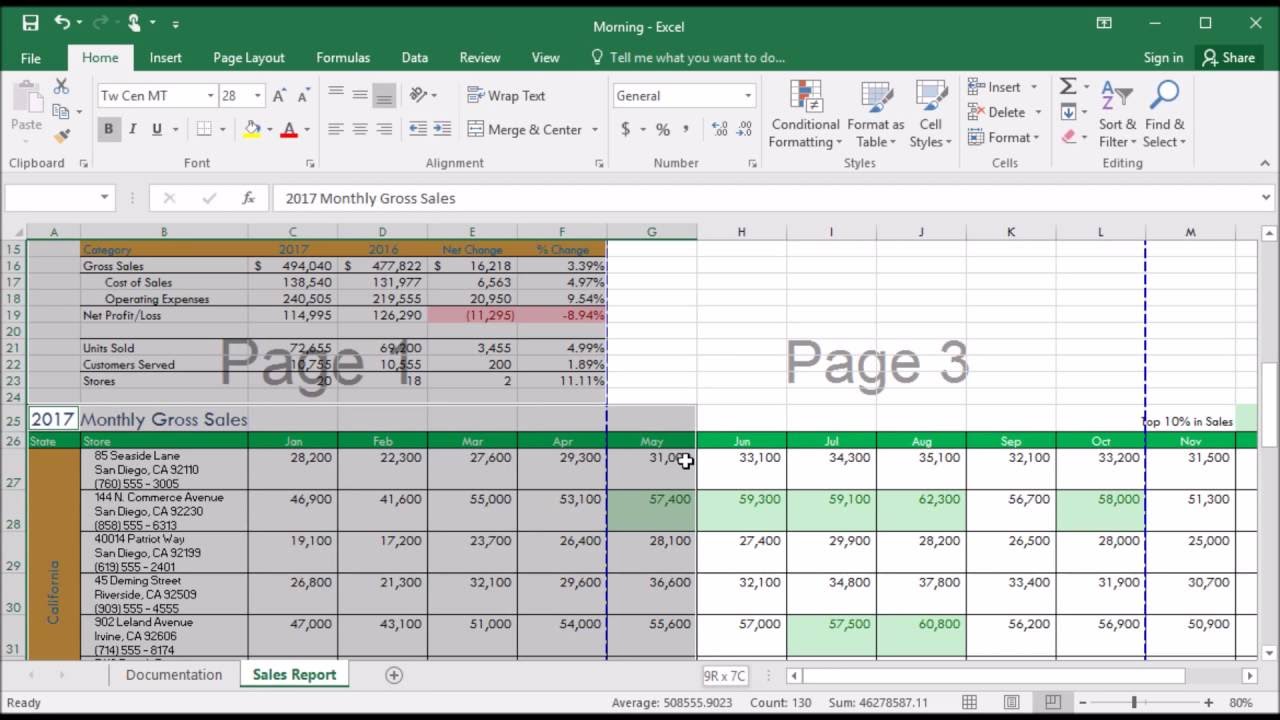
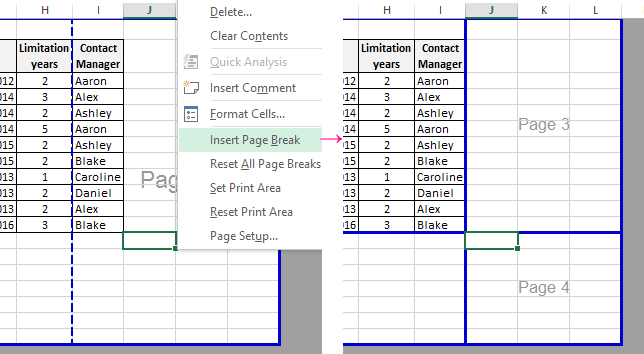
To set more than one print area hold down the ctrl key and select the areas you want to print. A print area in excel defines which worksheet areas the printer will print from. Go to the page layout tab. This option would set the selected range of cells or area as print area and also it gives the name of that area under name box.
Set print area excel. You can add multiple print areas that will then print on separate pages.
Set The Print Area Print Workbook Worksheet Microsoft Office
How To Set Or Clear A Print Area In Excel Excel Examples
Set Or Clear A Print Area On A Worksheet Excel

Where Is Set Print Area In Excel 2007 2010 2013 2016 2019 And 365
Excel Tip Set Print Area Pdf To Word Pdf Converter Pdf To Doc


:max_bytes(150000):strip_icc()/ExcelSetPrintArea-5c23d199c9e77c0001adc722.jpg)